Creating our Route
Since the purpose of this course is to introduce you to GitOps, we're going to stay out of the weeds, and use a pre-created Pipeline, named apache_logs. This Pipeline does the bare minimum to prep our data for delivery to our Elasticsearch Destinations. We just need to create the Route for it.
- You should still be on the
Stream Devtop tab, withManageactive in Stream's own top nav. - Open the
Routingsubmenu. (On small viewports, you might need to click the ••• overflow submenu to reveal it.) - From this submenu, select
Data Routes. - Click
Add Routeto create a new Route. - In the
Route Namefield, enterapache_logs. - In the
Pipelinedrop-down, selectapache_logs. - Toggle the
Enable Expressionfield toYes. - In the
Output Expressionfield, enter:`${C.logStreamEnv}_logs` - Use this Route's left grab handle (looks like: ) to drag the Route to the top of the Routing table.
- Click
Save, and look for a green confirmation message. - Click
Commitat Stream's upper right corner. - In the resulting
Git Changes – Group defaultdialog, enter a commit message (e.g.,Configure Route). - Click
Commit and Deploy, and look for green confirmation messages.
All of our components are now in place! Everything will take a couple of minutes to deploy. But after that, if we take a look at the Elasticsearch/Kibana top tab, we'll see our development Stream instance feeding data to the dev index.
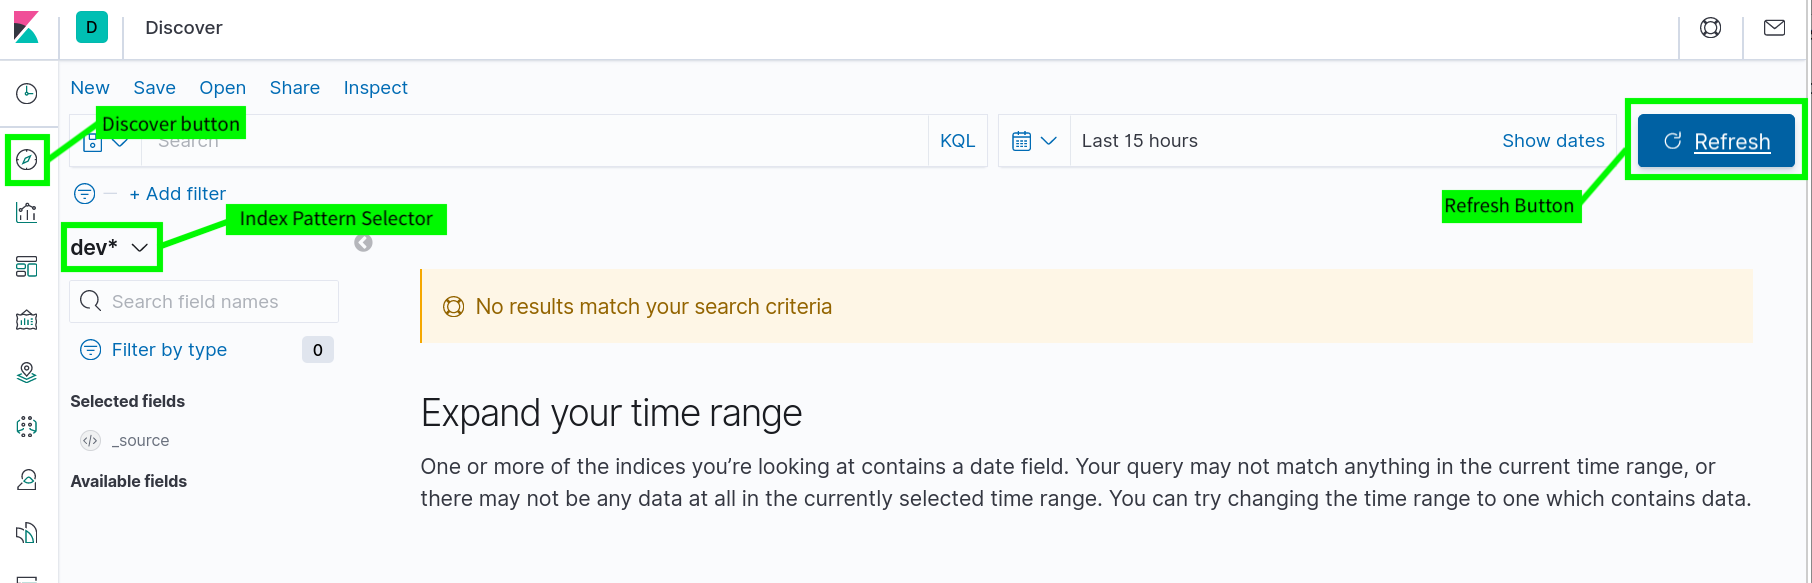
- Click the
Elasticsearch/Kibanatop tab. - In the Kibana UI's left nav, click the second button,
Discover. (See the screenshot below.) - If
dev*is not set as the index pattern, click the drop-down selector and set it. - Click
Refreshif necessary.
Finally, we need to push all of these configuration changes to our remote dev branch.
- Click back to the
Stream Devtop tab. - In Stream's own top nav, click the
Version Control() button, and from theVersion Controlfly-out, clickCommit. - In the resulting
Git Changes – Globaldialog, leave a nice commit message. - Click
Commit and Push, and look for green confirmation messages.
With all our configuration now pushed to our dev remote, our next step is to go to the repo, where we'll merge our refreshed dev branch to prod.