Creating the Repository
In our sandbox environment, we have an instance of Gitea, which is a self-hostable Git service. A user called gituser is already configured. Now we need to do a few things in the Gitea instance:
- Add an SSH key for the
gituseruser, to enable SSH as our Git transport. - Create a repository for our configurations, with both
prodanddevbranches.
Setting Up SSH Access
For simplicity's sake, we have a pre-created SSH key to work with. But if you need to know how to create an SSH key for Git usage, GitHub has a good tutorial on it.
-
Click
Giteaon the top nav. -
Click
Sign Inat the top right corner, if theSign Inform does not already have focus. -
Enter these credentials, then sign in (green button):
Username Password gitusercribldemo -
From the Profile menu at the top right corner, click
Settings. (This is the colored Gravitar icon -)
-
On the resulting Settings page, click the
SSH/GPG Keystab. -
Beside
Manage SSH Keys, click theAdd Keybutton. -
Paste the following SSH public key into the
Contentfield. (This will automatically fill theKey Namefield withsandbox+gituser@cribl.io.)ecdsa-sha2-nistp256 AAAAE2VjZHNhLXNoYTItbmlzdHAyNTYAAAAIbmlzdHAyNTYAAABBBEQv6jP+Etvhbz9MDt1BHt6bgXobVFTc2G6NA6Md7bNVRlqkqER07Gao7dq/l6EY5UzIBiaaGiw4+SkdPAYIJzQ= sandbox+gituser@cribl.io -
Click the green
Add Keybutton below the key you just pasted.
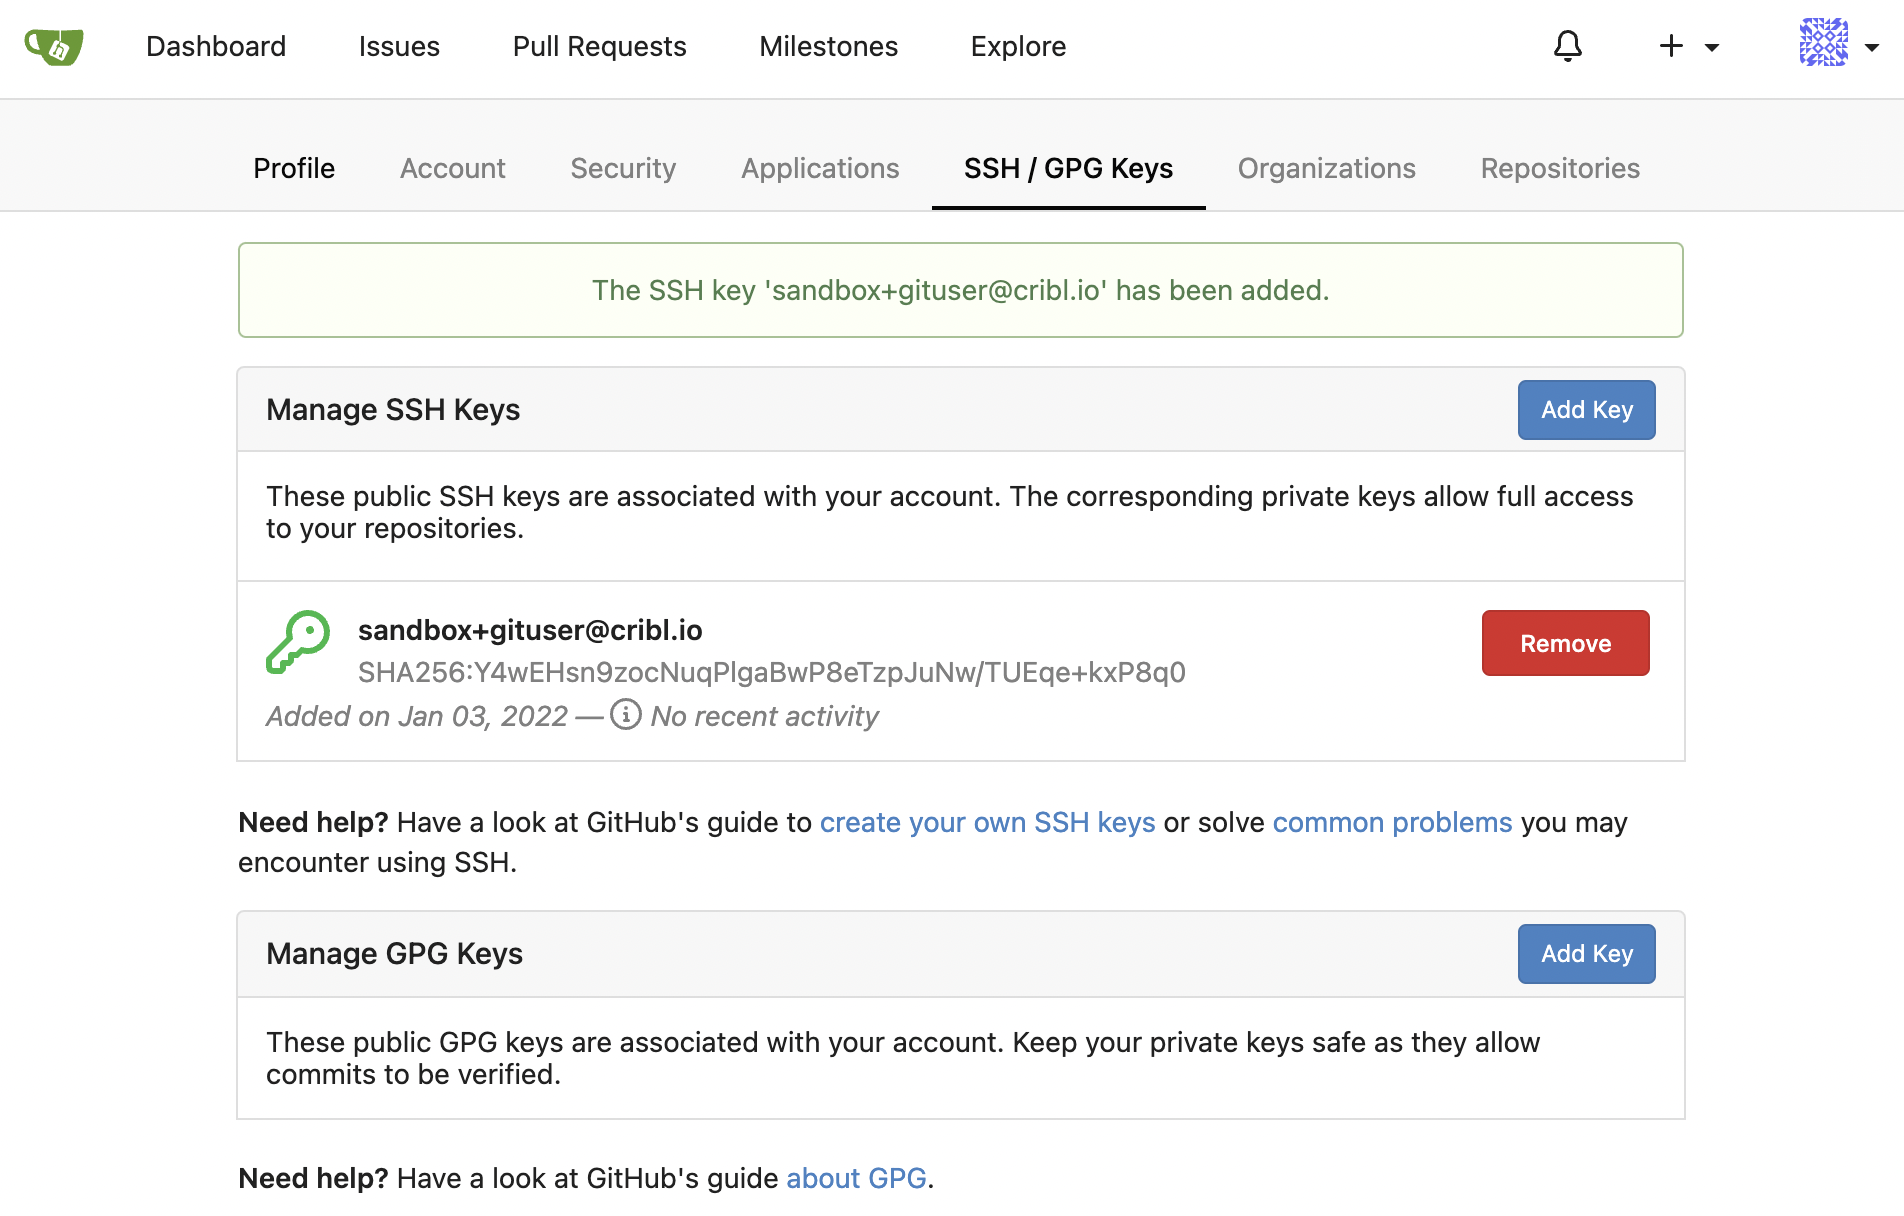
Your screen should now look something like this. Note the green confirmation message:

Creating the Git Repository
Now that we have our transport set up, we need to create a Git repository in which to store our configurations.
- Still on the
Giteatop tab, pull down the+(Add) menu at the upper right, and select+ New Repository. - On the resulting
New Repositorypage, typestream-configinto theRepository Namefield, and click theMake Repository Privatecheck box. (You can leave everything else as default.) - Click the
Create Repositorybutton at the bottom. - On the resulting
Quick Guidepage, besideClone this repository, click theSSHbutton. - If you named the repository
stream-config, you should now seegit@gitops-gitea:gituser/stream-config.gitin the adjacent field. (If you used a different name, you'll instead see a different value.) Either way, click the nearby Copy button to copy it to the clipboard for the next few steps.
When you create your production repositories, follow the best practice of setting them up as private repositories. (Git services like GitHub or BitBucket will default to instead making your repos public, leaving them visible online.)
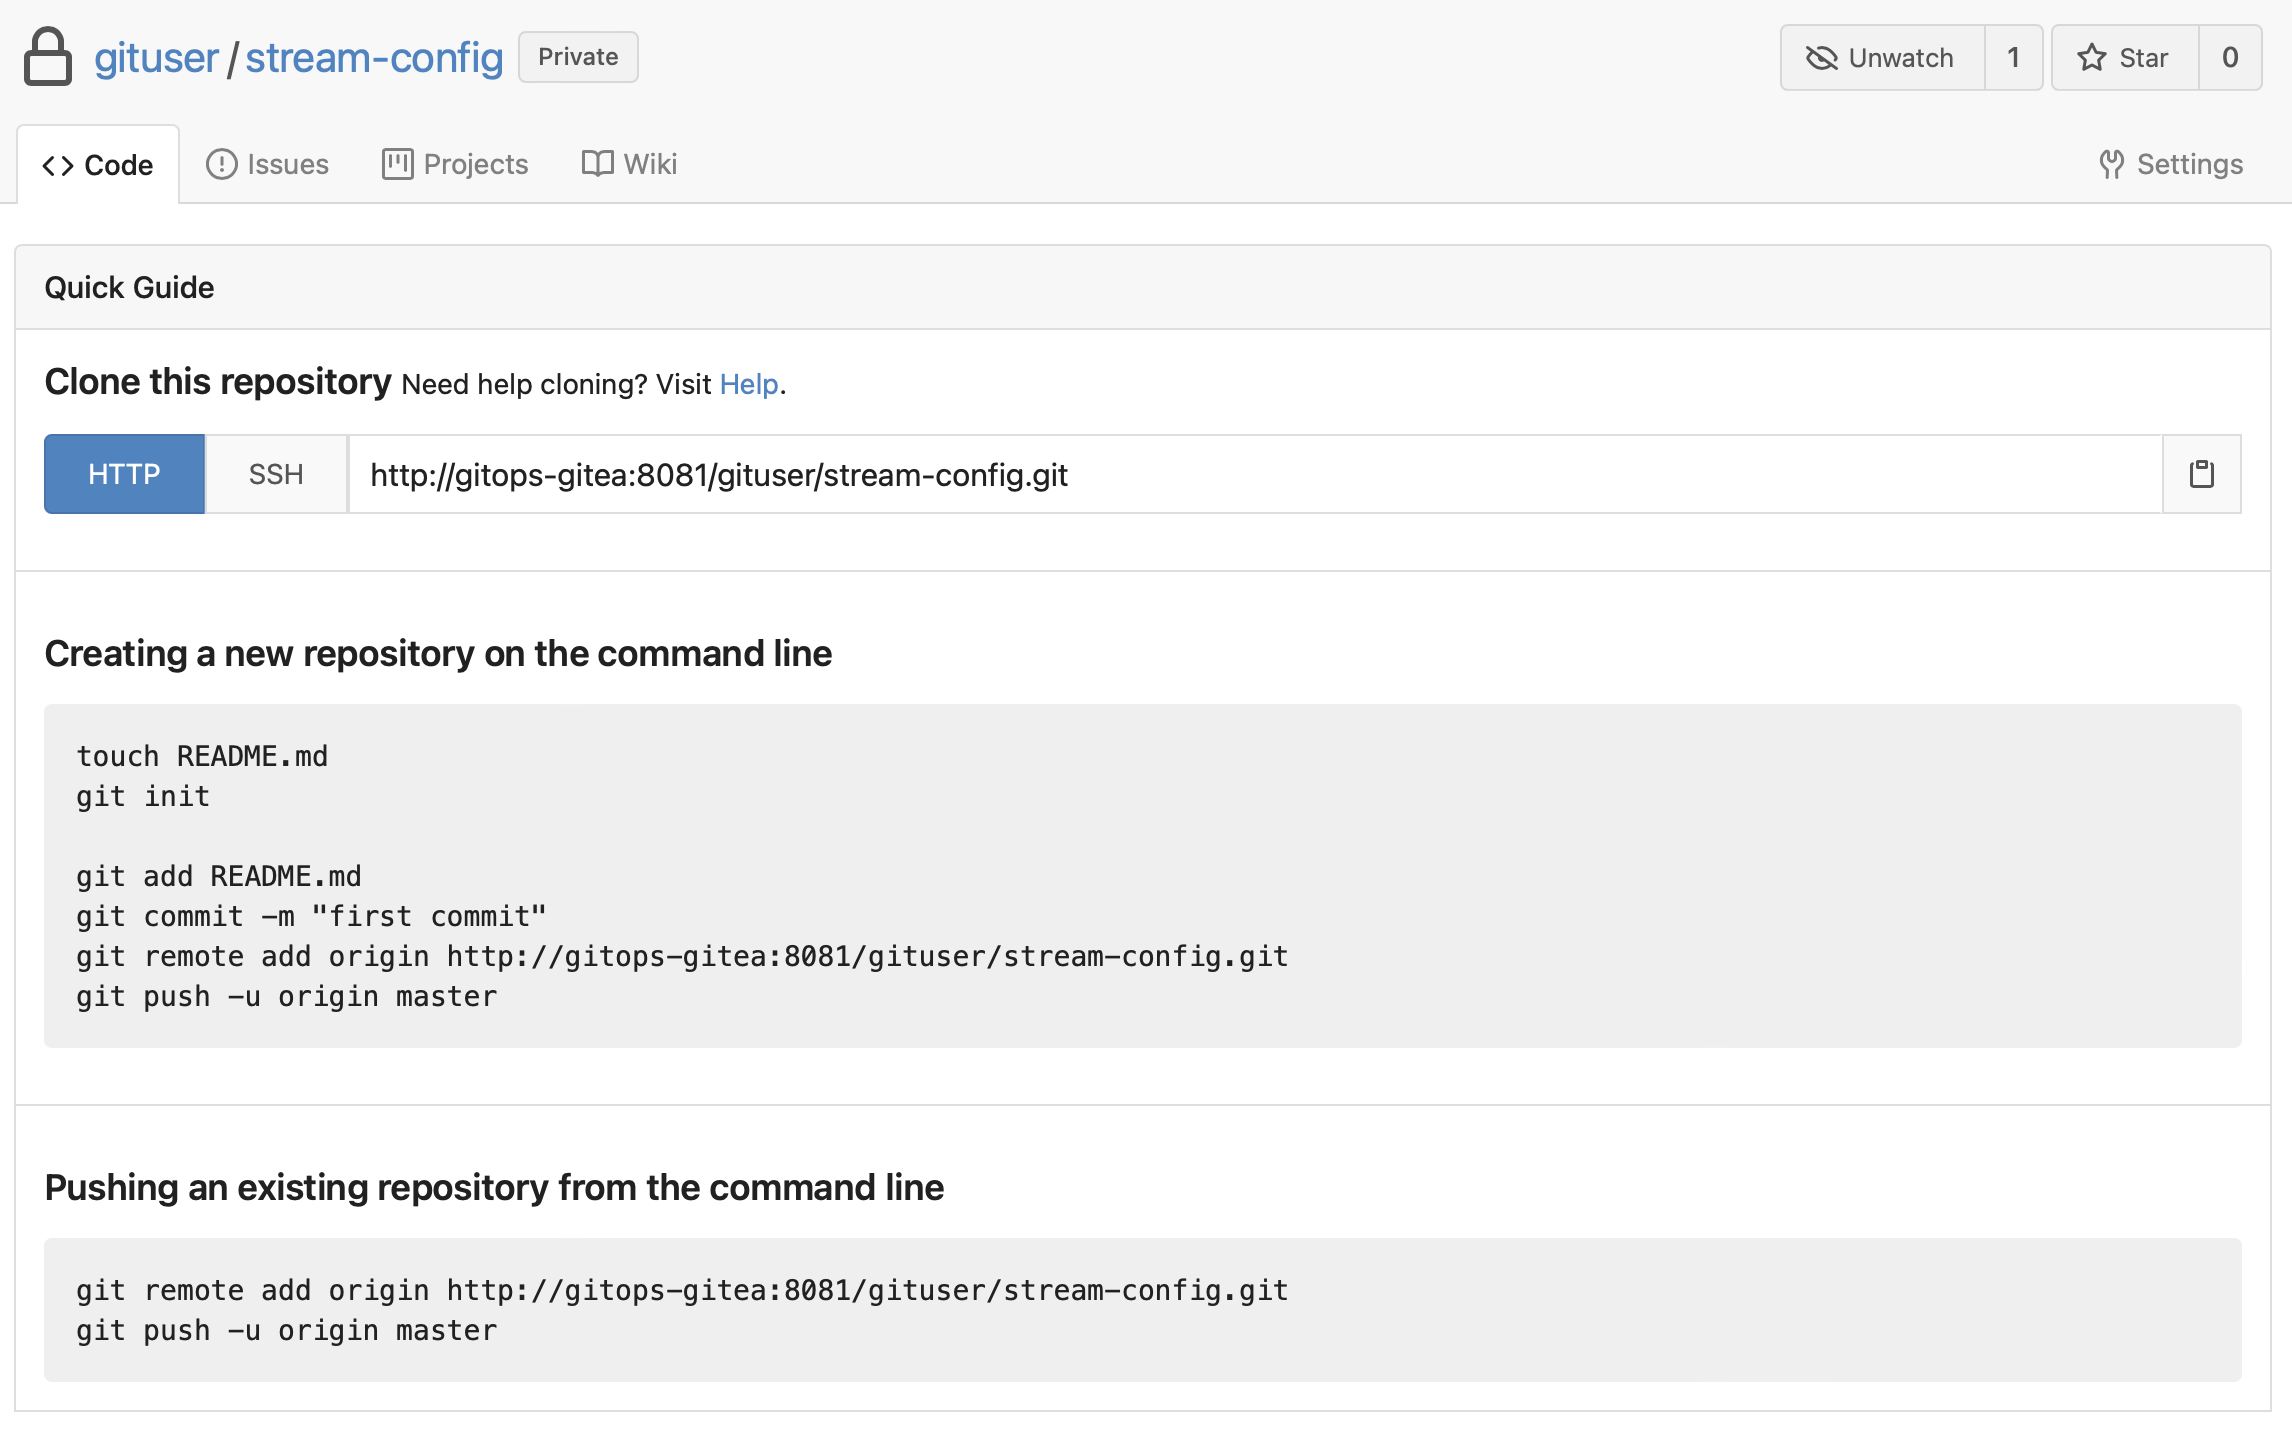
Your screen should now look something like this:

Our Git user and repository are now set up, so now we can get to configuring Stream.