It's Gotta Go Somewhere
Destinations are just that: Places where our data will end up once it passes through Stream.
- If the Live Capture modal is still open, close out of it by hitting the X at the top right.
- Select the Data submenu and click Destinations.
As you can see here, Stream supports sending data to a wide range of destinations. The world is your oyster when it comes to data. To cost-effectively place our raw data in long-term storage, today we will use Cribl Lake. The data can then be easily reused or replayed at a later date, if needed.
Just because we use Lake here, doesn't mean you can only use Lake. If Amazon S3 is more your jam, you could replicate this work to point to an S3 Archive of sorts rather than Lake.
Create a Destination
- Click Data Lakes Cribl Lake
- On the top right, click Add Destination
Here we are met with a plethora of fields to fill out. Only a couple are mandatory, and the rest are pretty simple to explain.
- Output ID - This is the identifier that Stream uses internally so you know what you’re talking about when configuring other aspects of the UI.
- Lake Dataset - Which Dataset should this Destination target.
- Backpressure behavior - If we can’t reach Cribl Lake, what should we do?
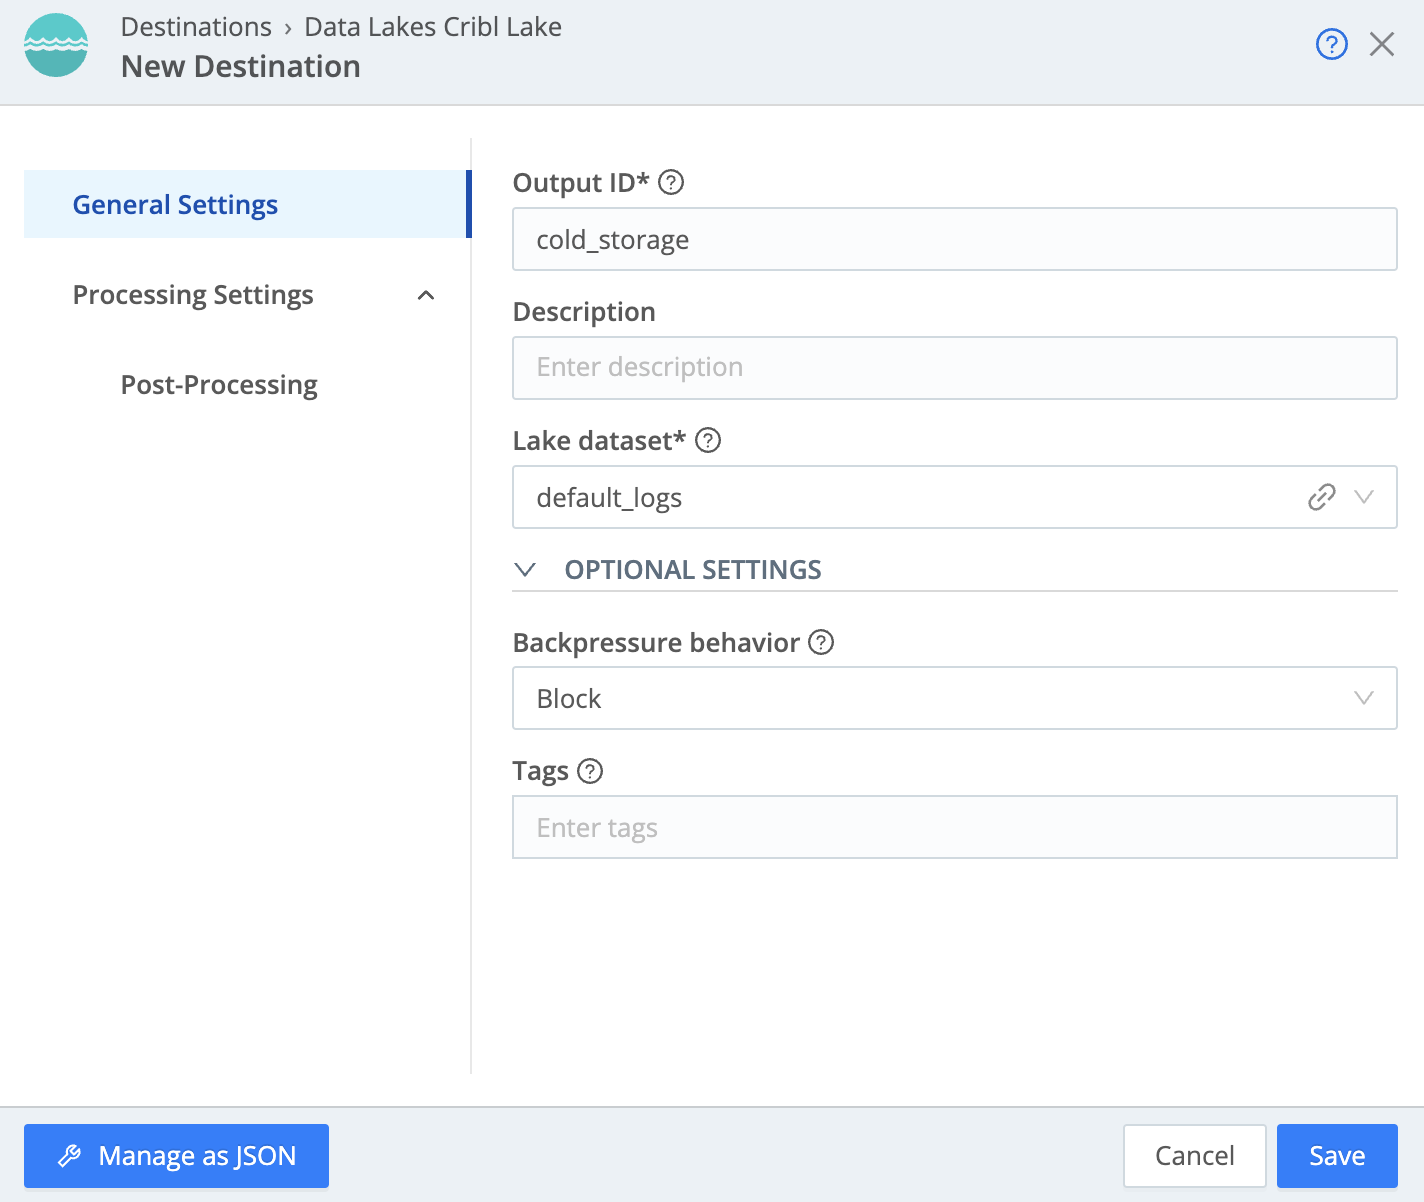
Fill out the fields for the Cribl Lake destination (if a field is not included, it can be left at the default value or blank)
- Output ID -
cold_storage - Lake Dataset -
default_logs
default_logsIf you were to go click into Cribl Lake and peek at the default_logs Dataset, you would see that it is a provided Dataset that has retention set to 30 days in JSON format. Just in case you were curious.
Click Save
Your settings should look like the following:
We can try to verify data flow again by clicking the Live button to the right of our Cribl Lake Destination. However, we haven't told Stream to send any data to our Destination, so nothing will show up. Let's go configure that shall we?