Value Expression Examples
For these examples, we'll start with an empty Pipeline, and build it up. There is a sample file of Palo Alto firewall log data that we'll be using for these examples.
- If you still have the
Capture Sample Datamodal open, clickCancelto close it. - Make sure
Processing / Pipelinesis selected in Stream's top nav. If necessary, drag the pane and column dividers to the right, so that you can see Pipeline names in the left pane. - Click the Pipeline named
value_starter. - In the right
Sample Datapane, find thefirewall_sample.logsample file, and click theSimplepreview link to its right. - In the left pane, click the
Add Functionbutton, and search for and select theEvalfunction (or select it from the drop-down'sStandardsection).
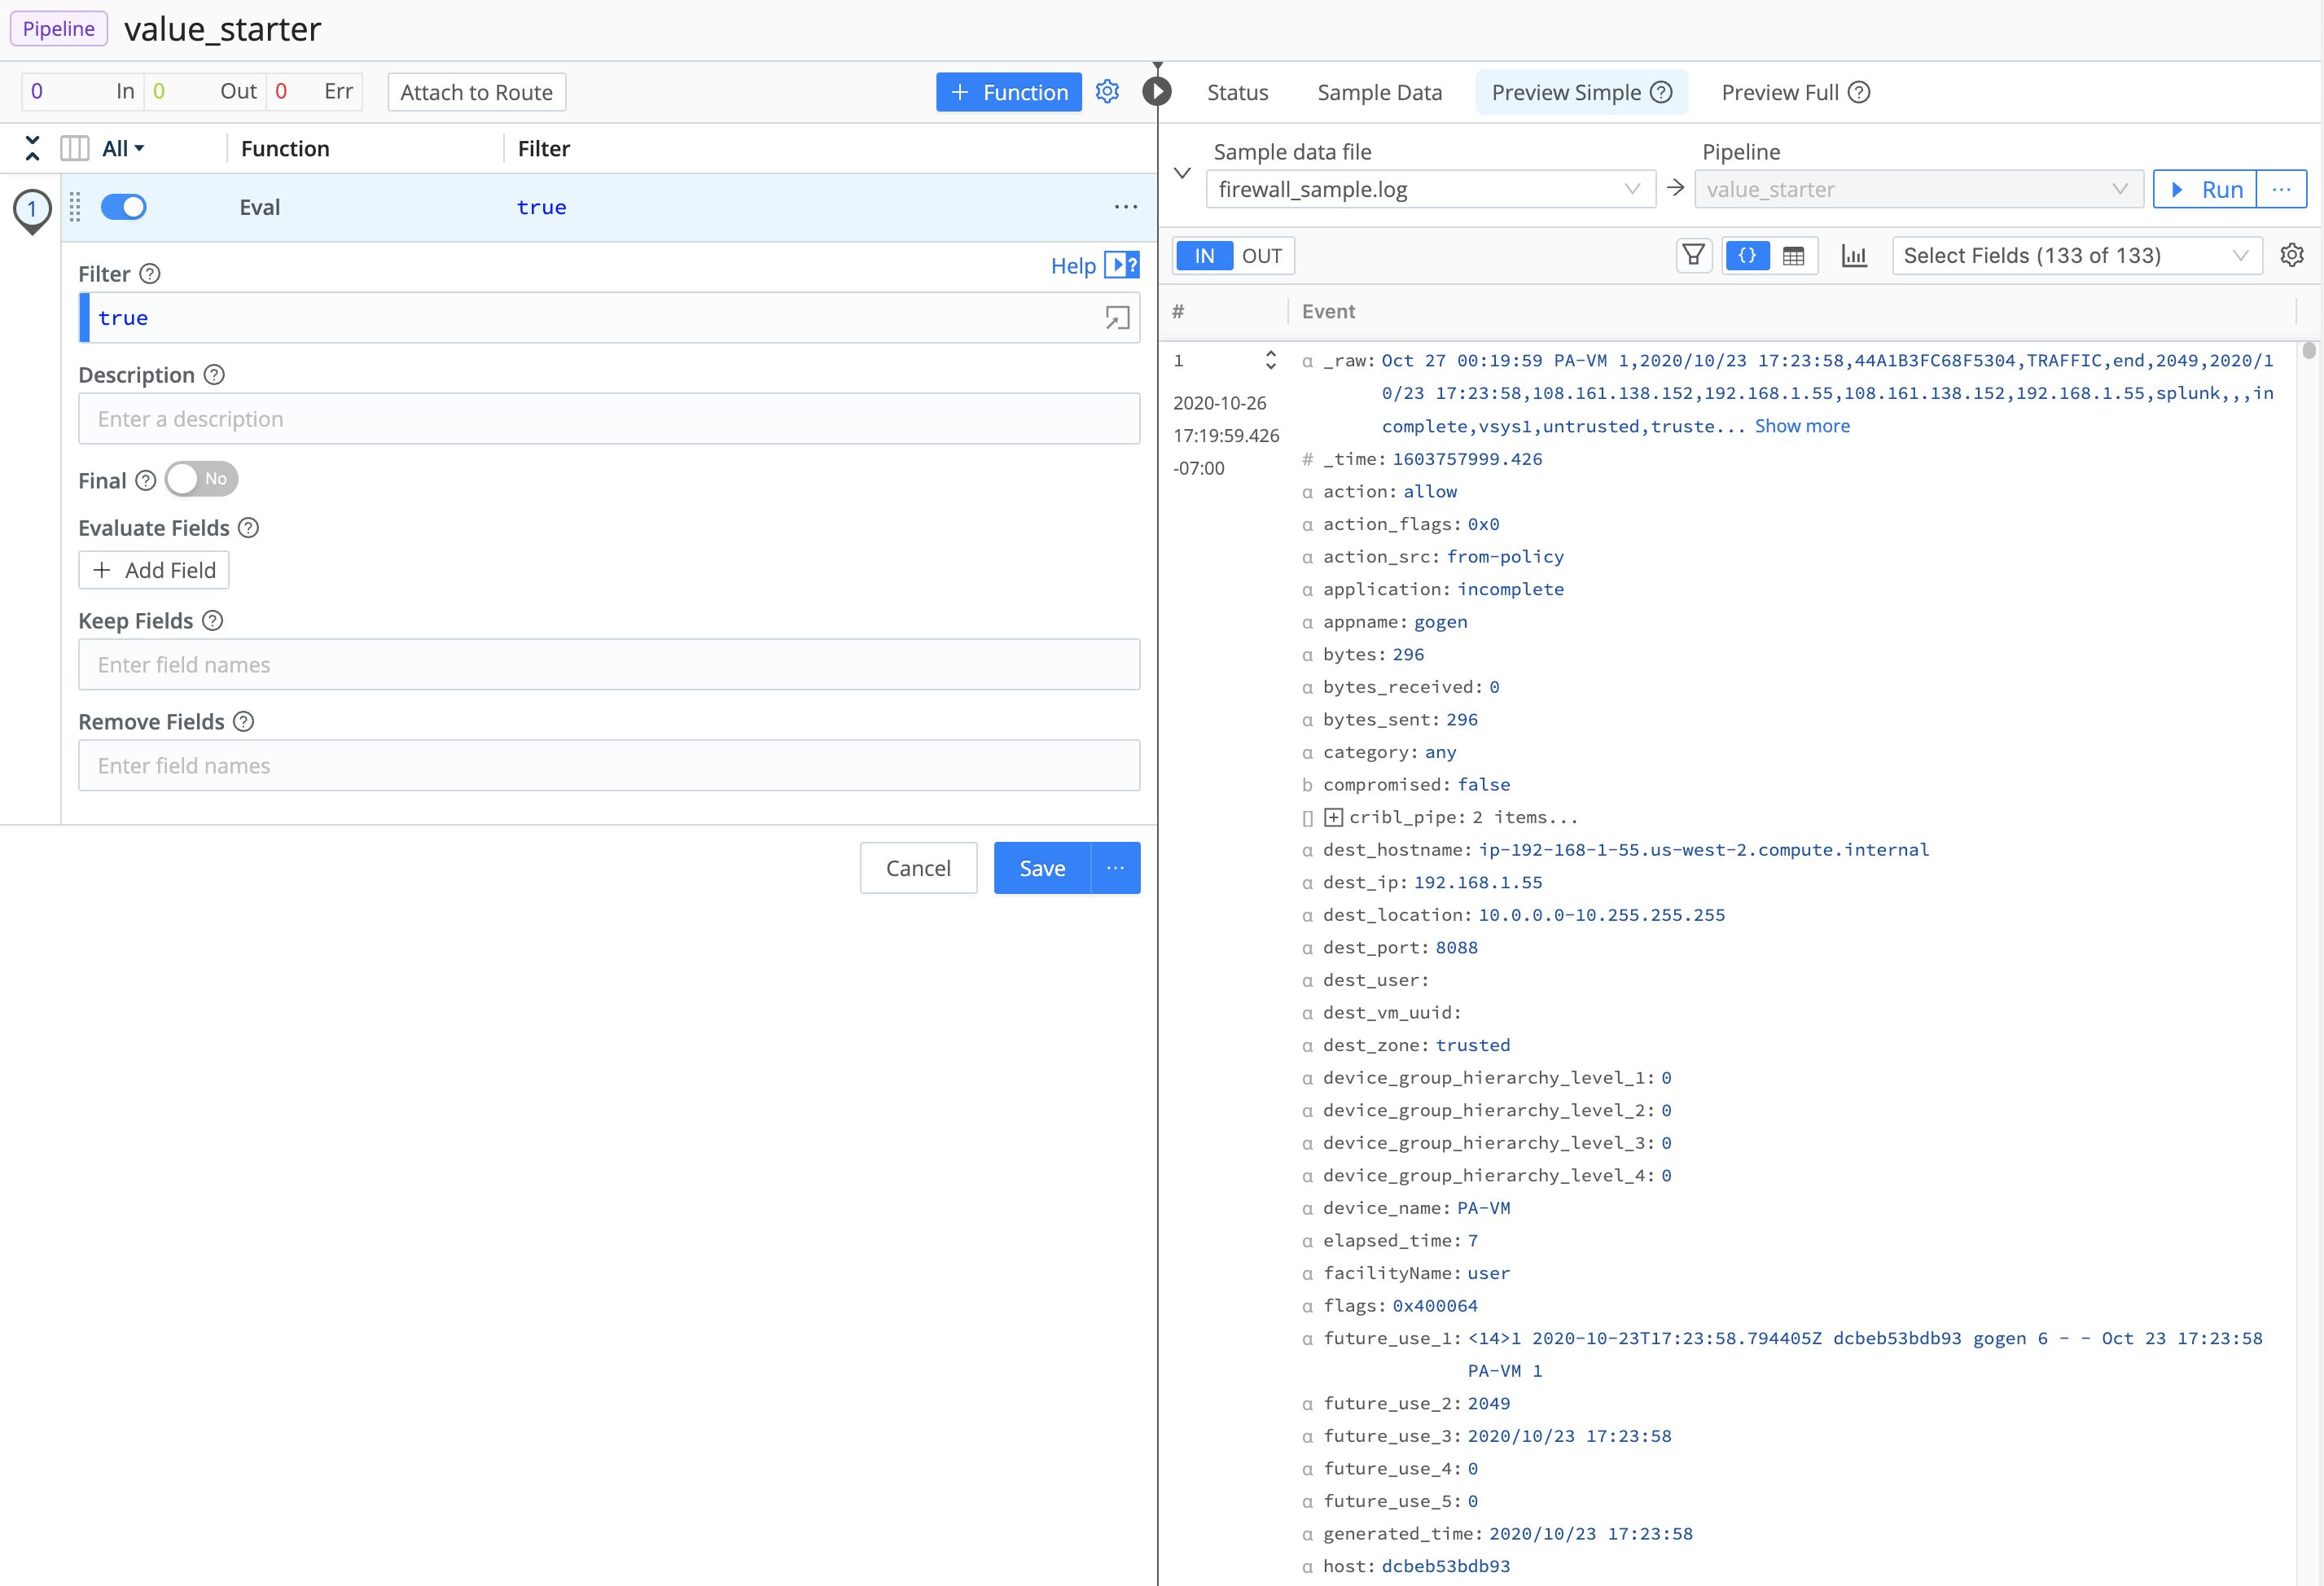
At this point, the Stream screen should look something like this:

...and we're ready to start.
- In the
EvalFunction'sEvaluate Fieldssection, click+ Add Field. In the resulting table, enterdomainin theNamefield, and paste following expression into theValue Expressionfield:(src_hostname || dest_hostname).substr((src_hostname||dest_hostname).indexOf('.')+1) - Click
Save - In the right
Preview Simplepane, click theOUTbutton near the top. This will show you the results of the Pipeline changes.
This expression is similar to the domain example on the previous page, but it will base it off of the src_hostname field if that exists, or else off the dest_hostname field if src_hostname does not exist. If you look at the data on the right, you'll see the new domain field highlighted in green, and it will contain either the src_hostname or the dest_hostname field's value without the hostname.
Now, let's use the sample data's generated_time field to create a new field that contains the UNIX-style timestamp version of that field.
- In the
EvalFunction'sEvaluate Fieldssection, click+ Add Fieldto add a second row to the table. - Enter
generated_epochtimein the new row'sNamefield. - Enter the following expression in the new row's
Value Expressionfield:Date.parse(generated_time).toString() - Click
Save.
You should now see a new field in the output pane, called generated_epochtime, which contains the number of milliseconds since the epoch (January 1, 1970, 1200am UTC).